

3.2 Sampler
Samplers turn ordinary sounds into playable instruments. In this lesson, you will learn how to load sounds into a sampler, trigger them with your keyboard, change their pitch, and shape how they play back. You will start with drum sounds, then record your own tonal sound and transform it into chords, pads, and bass. By the end, one sound can become a full musical idea.
Terms
Sampler: An instrument that turns a sound recording into something you can play with a keyboard or piano roll.
Sample: A recorded sound that can be loaded, edited, and reused in music production.
One-Shot: A short sound that plays when triggered, often used for drums or effects.
Tonal Sound: A sound with a clear pitch that can be hummed, sung, or turned into notes.
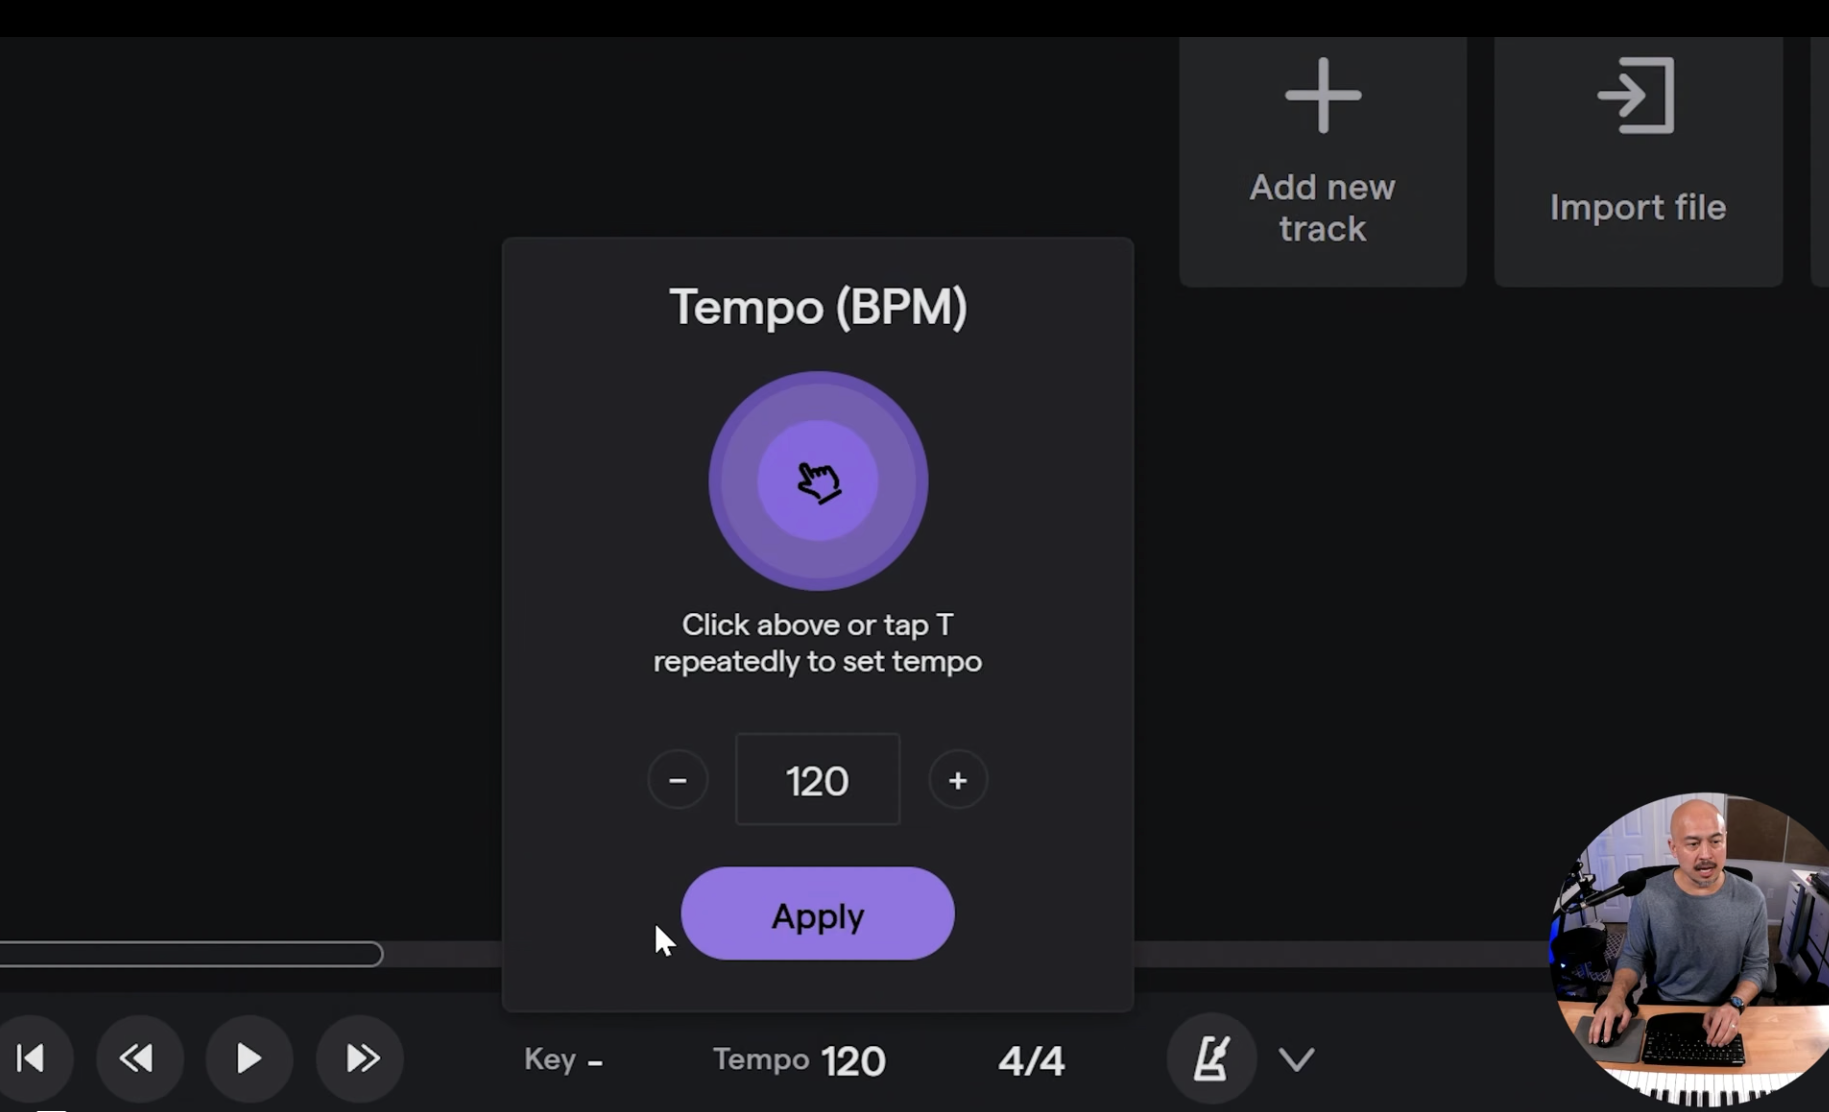
1 | Tempo/Kick
Set your project tempo with intention and choose a reggaeton feel around 80–100 BPM. Load a kick one-shot into a sampler and use your keyboard to trigger the sound.
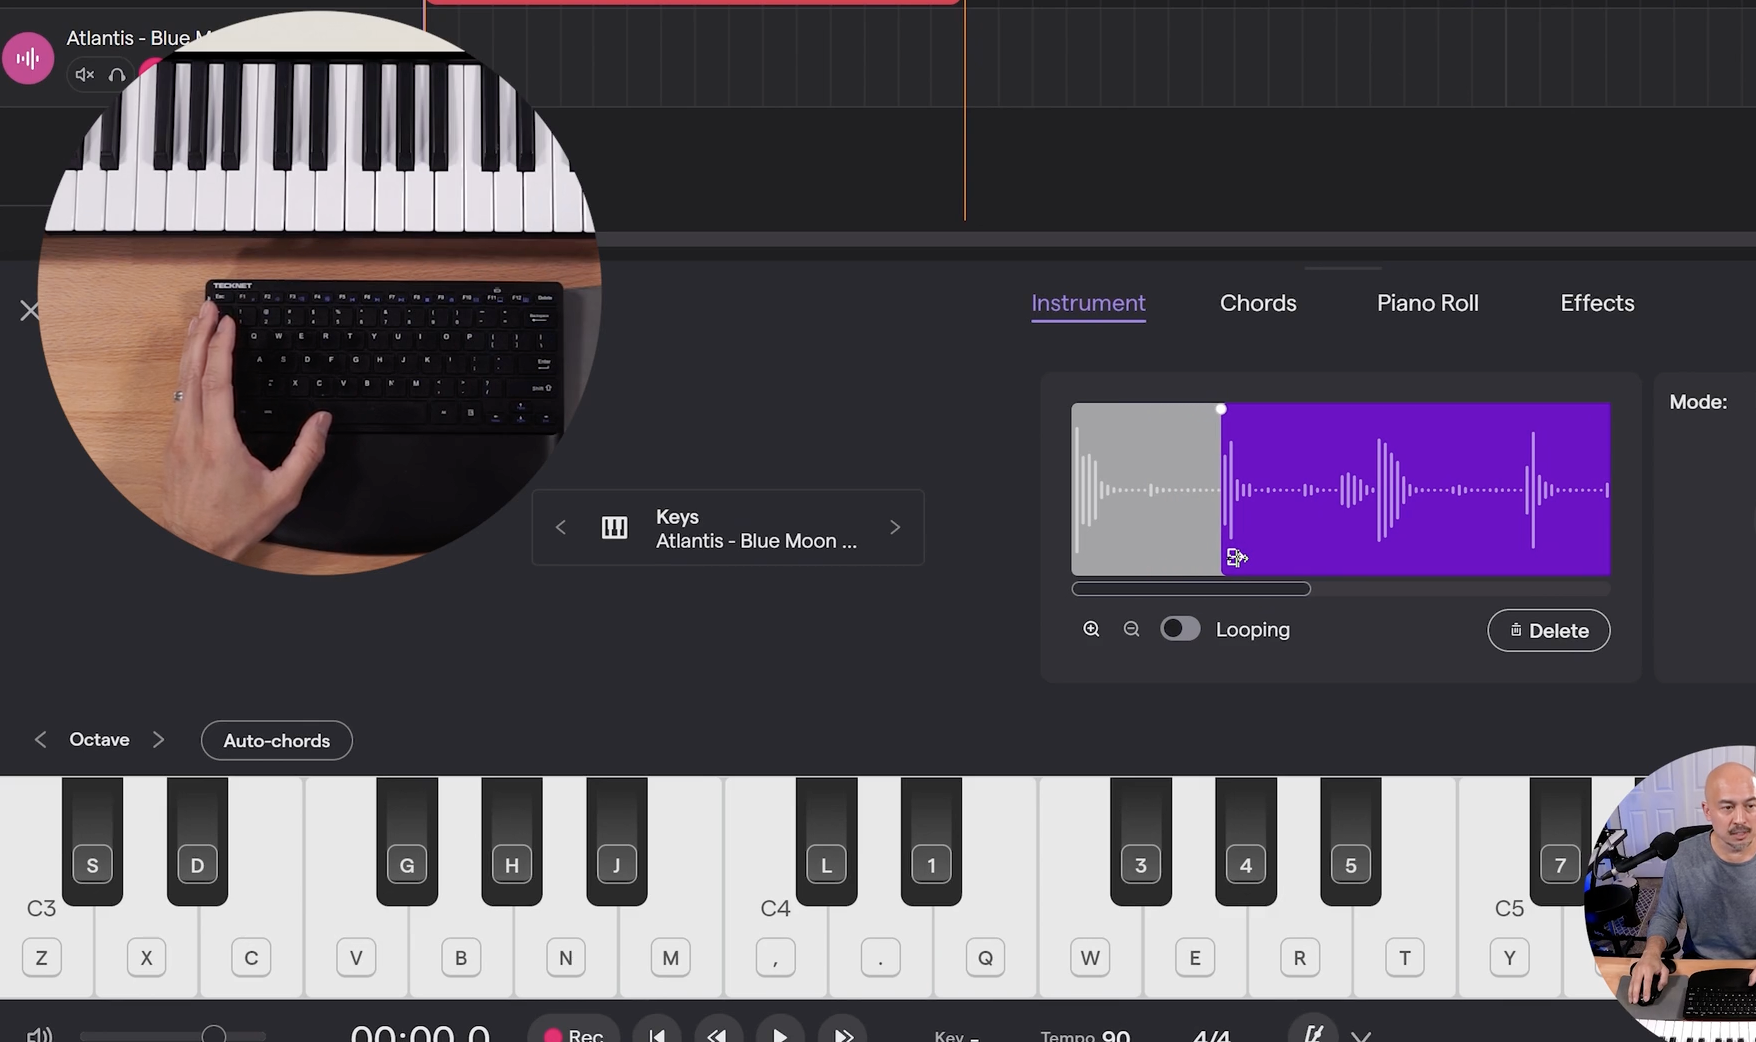
2 | Snare From A Loop
Search for a full drum loop and open it in a sampler. Use the sampler controls to isolate only the snare so you can play it as its own instrument.
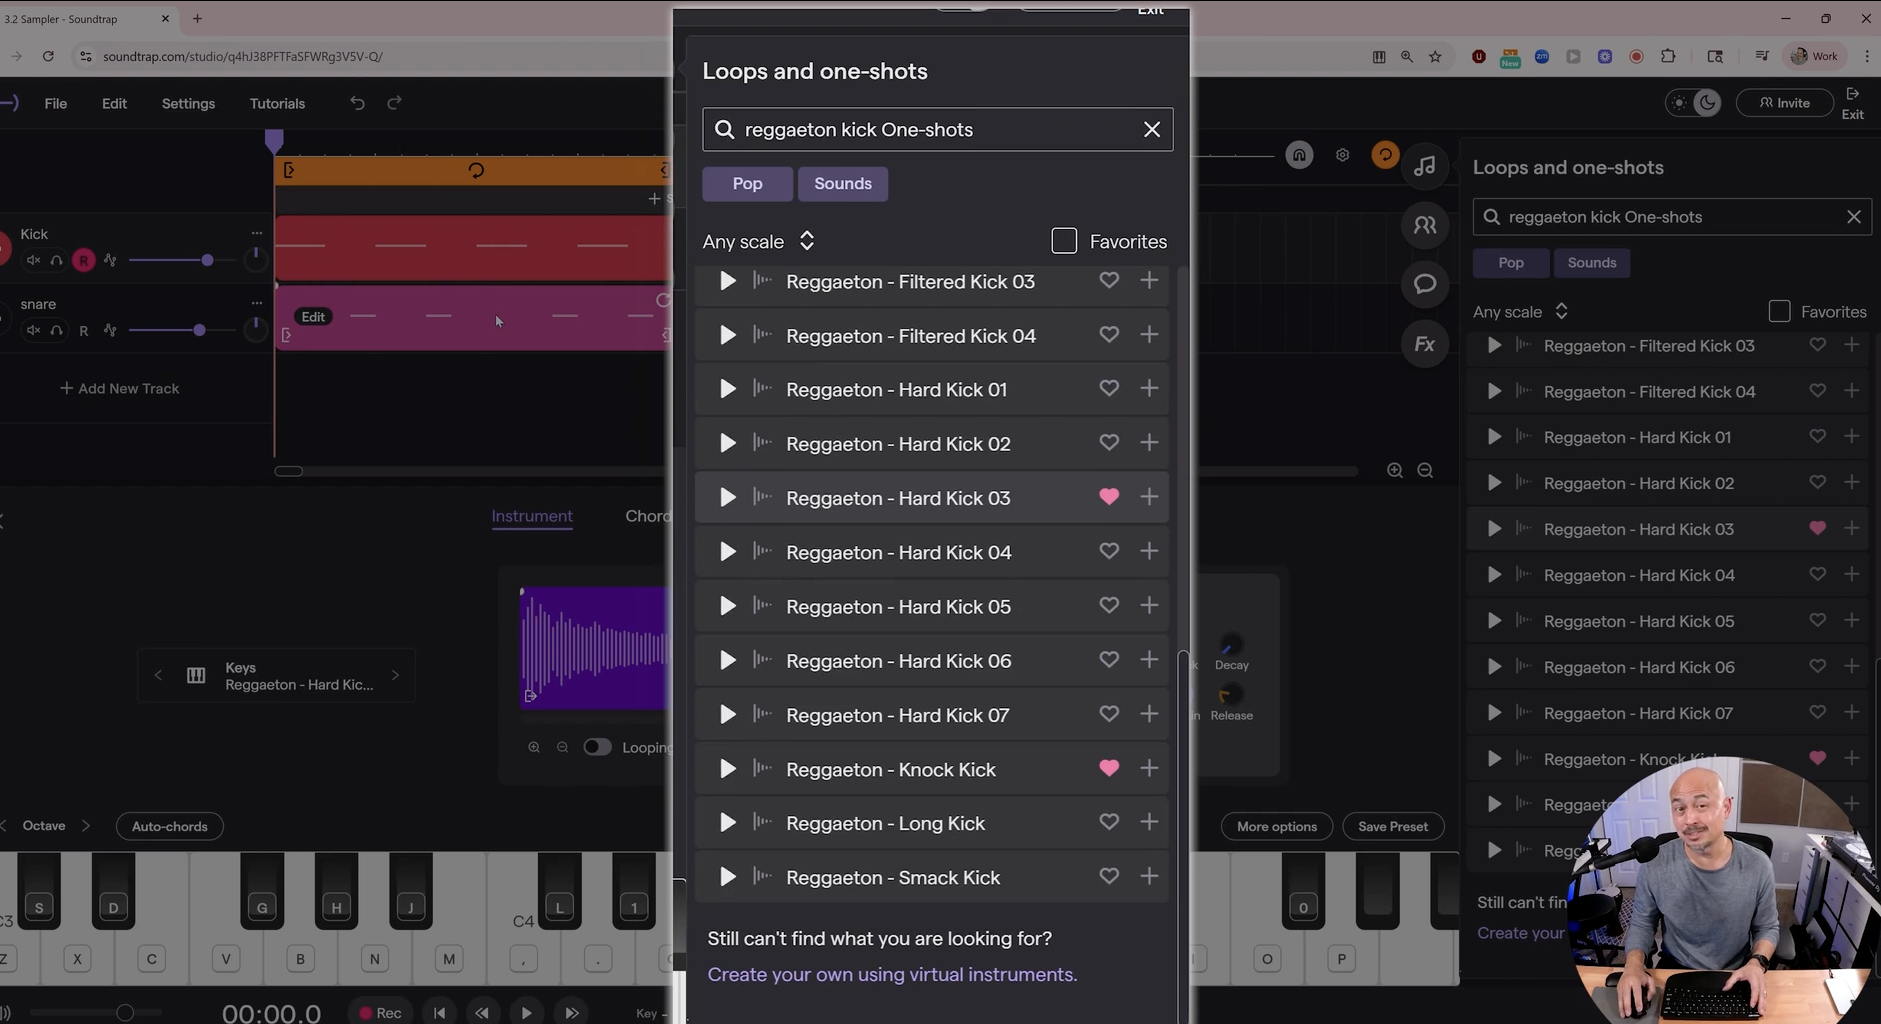
3 | Sample Replacement
Swap sounds inside the sampler to change the feeling of your beat. Keep the same pattern, but replace the sample to hear how a different kick changes the groove.
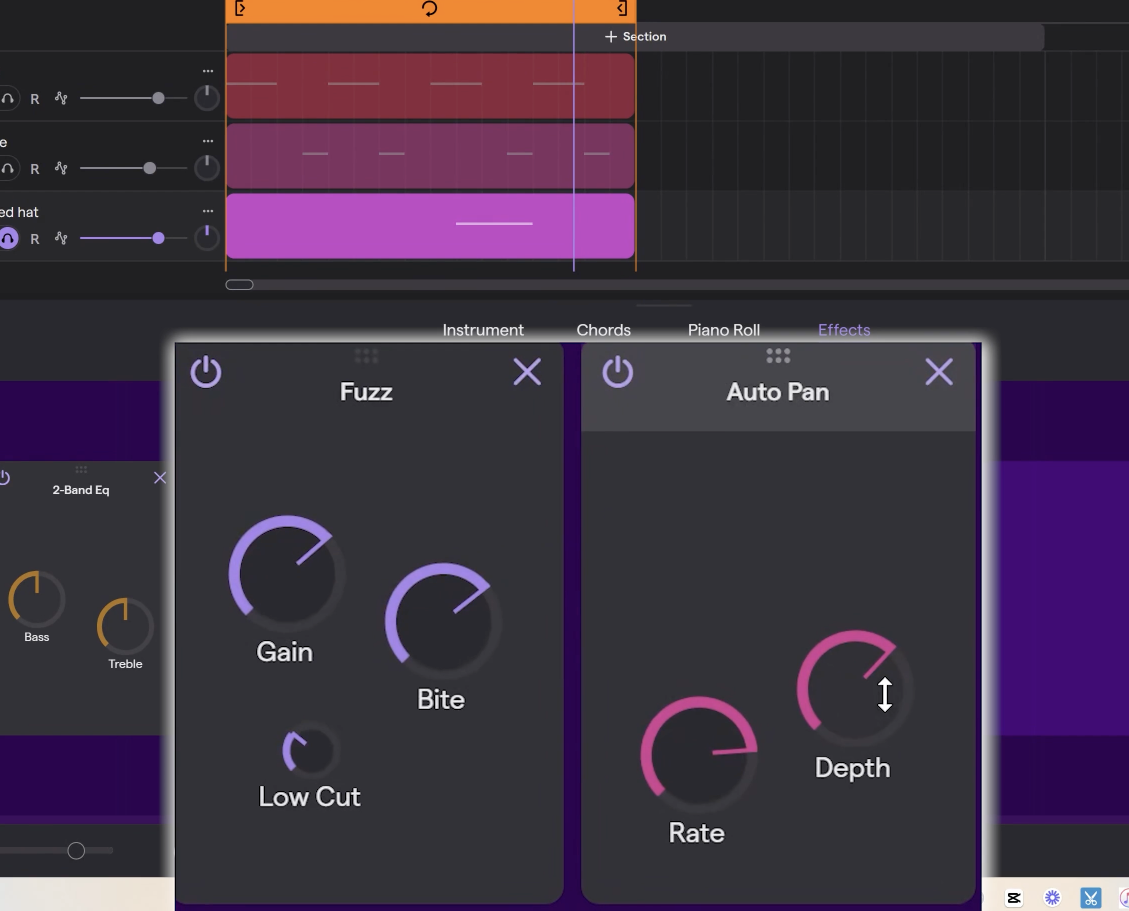
4 | Closed Hats & Effects
Create a closed hat sampler track and write a one-bar rhythm in the piano roll. Add effects and adjust the volume so the hats support the groove without overpowering it.
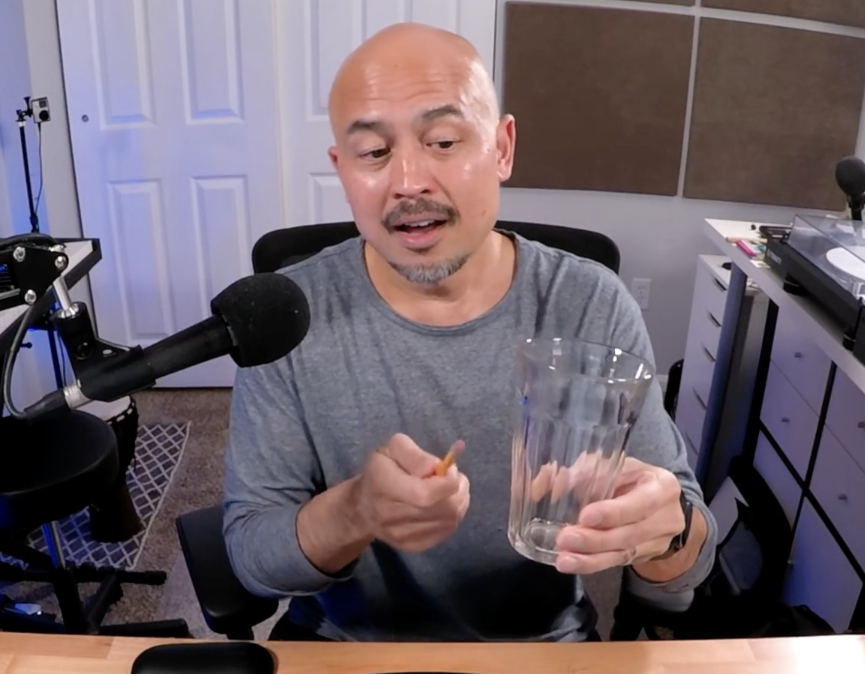
5 | Record a Tonal Sound
Find an object that makes a clear, ringing pitch when tapped. Record that sound into Soundtrap so it can become the source for your own custom instrument.
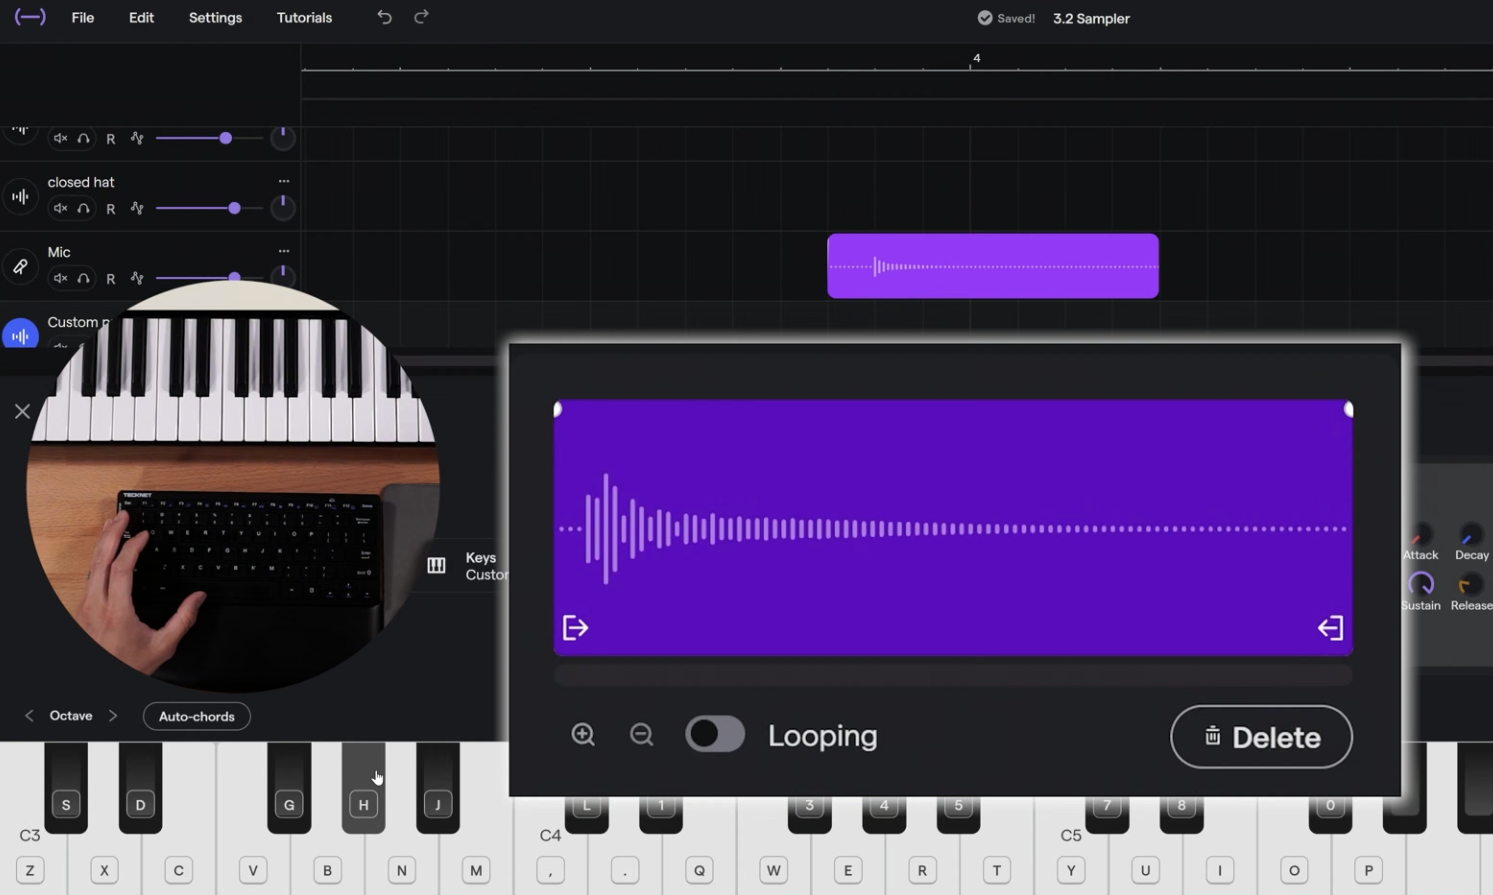
6 | Create Plucked Chords
Open your recorded tonal sound in a sampler and set the start point carefully. Rename the track, duplicate it, and keep one copy untouched so you can use the same sound in multiple ways.
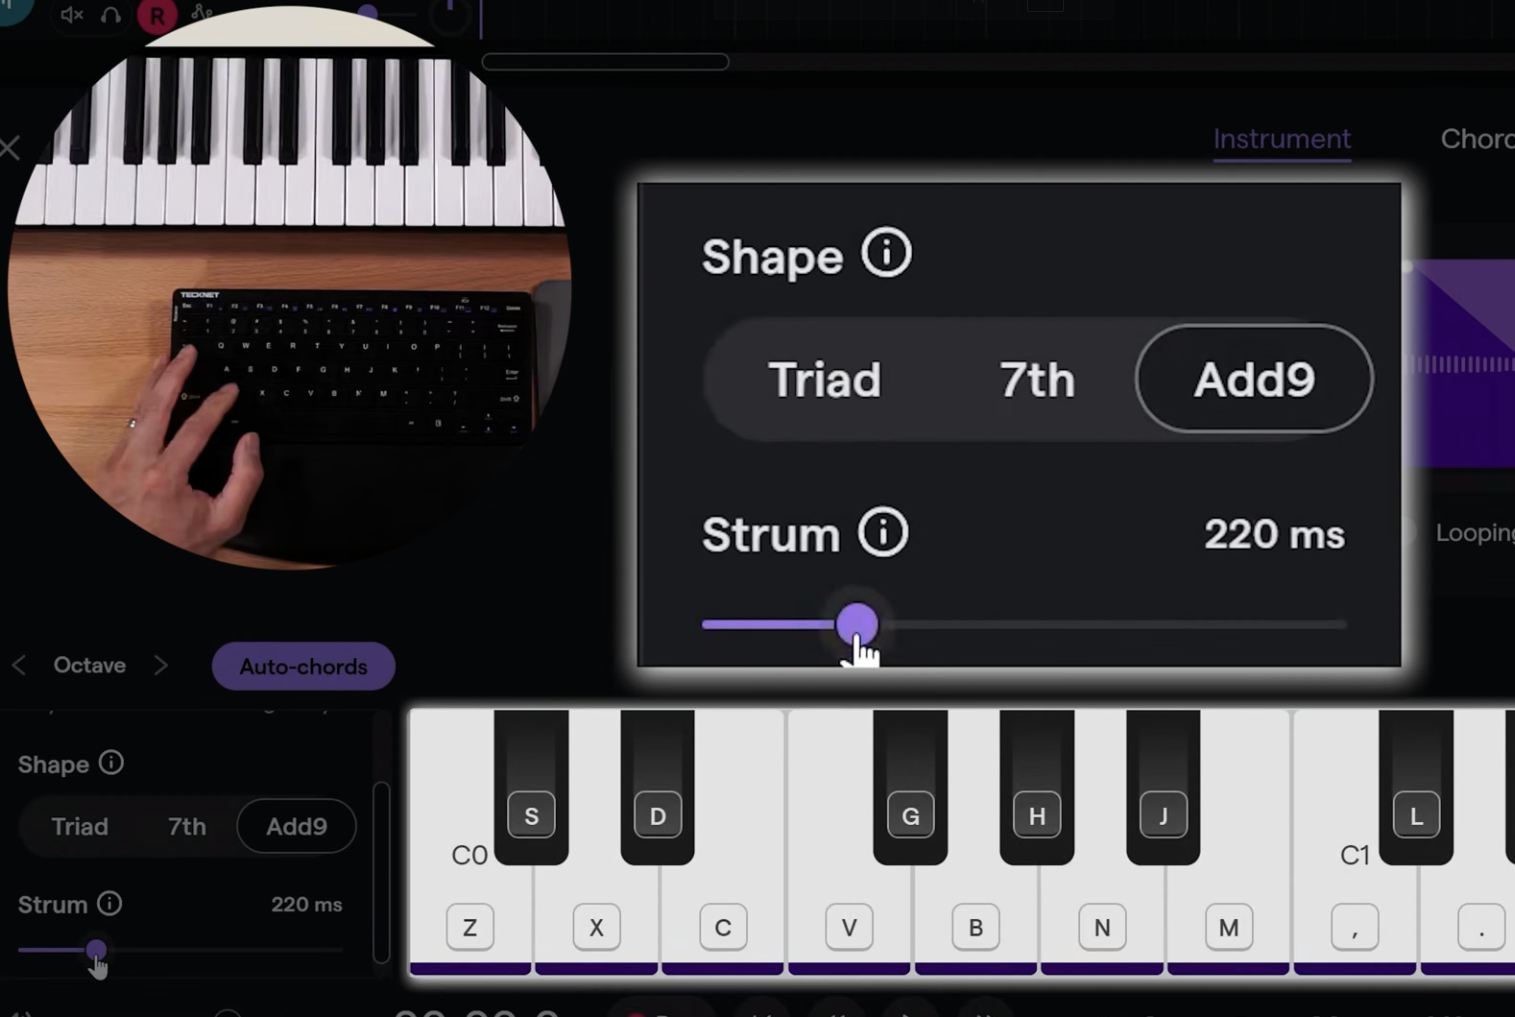
7 | Autochords
Use Auto Chords to turn one key into full chords. Lower the pitch, choose a chord shape, and create a pluck chord sound that fits with your beat.
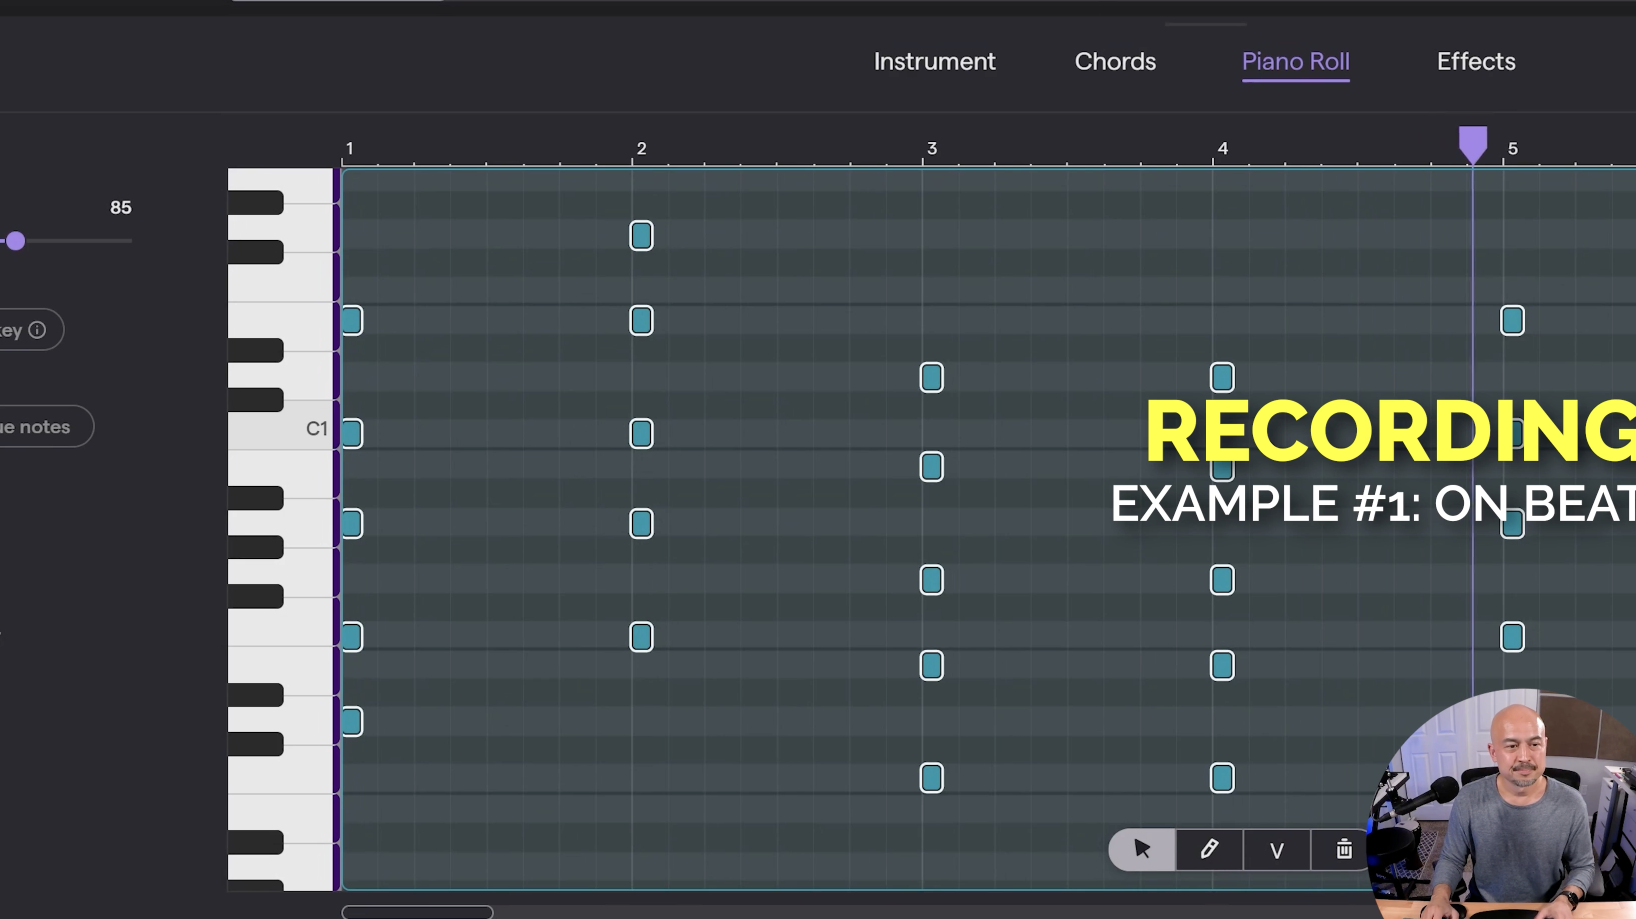
8 | Create Chord Pattern
Record your chord pattern instead of drawing it in. Use a count-in, listen to the beat, and then fix the timing afterward by editing and quantizing the notes.
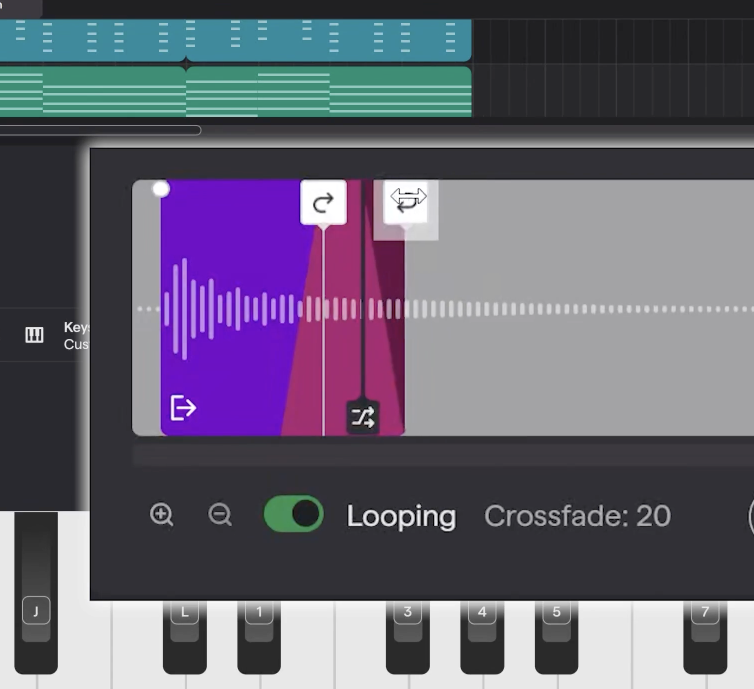
9 | Create a Pad
Duplicate your pluck chords and turn them into pad chords. Slow the rhythm down, lengthen the notes, and shape the sound so the chords feel smooth and steady.
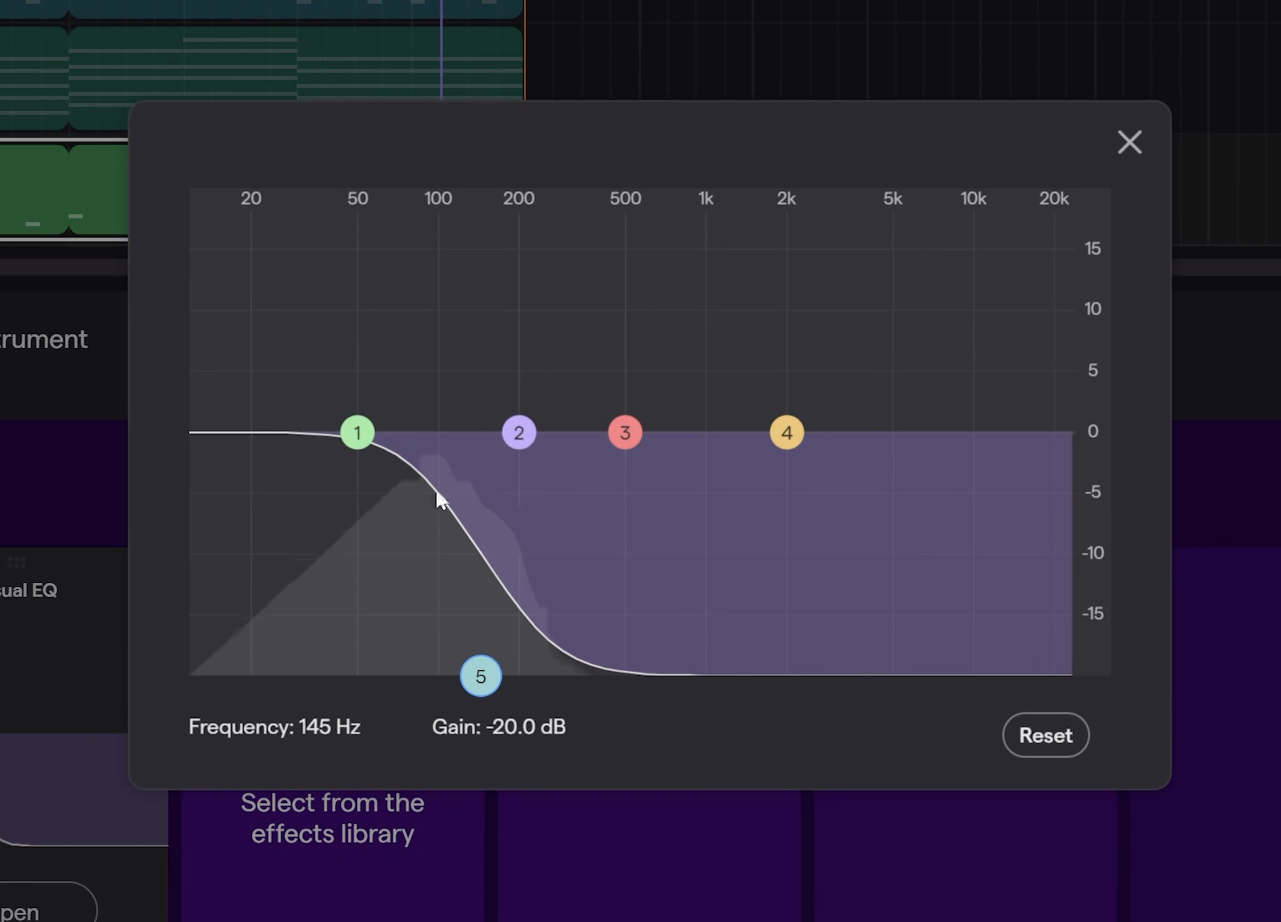
10 | Finish Arrangement
Duplicate your chord track and keep only the root notes. Move the notes down into a lower octave and shape the sound so your tonal sample becomes a bass instrument.